Pipe loom debut
I’m weaving a four selvedge piece on a pipe loom. Finally!
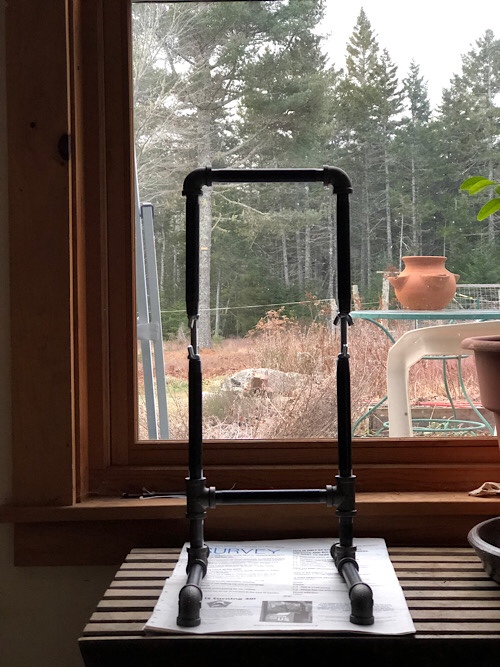
I convinced Sam to help me by saying it was the only thing I wanted for Christmas. He went directly to the pipe aisle in Home Depot, picked out the available size and type of pipe, and then the threaded rod area, and then left me in the nuts and bolts area. I did manage to pick out the correct wing nuts, which are measured by the diameter of the hole AND the spacing of the threads. For future reference, this is 3/8″ black pipe, a little larger than I wanted but it will work fine. The instructions came from Rebecca Mezoff’s Fringeless course, featuring Sarah Swett. Weavers are an ingenious lot. I purchased this course about a year ago, when it went on sale. Then just watched videos for entertainment and their soothing quality. Now I can actually weave something!
The photo is not the best, as it shows the yard more than the loom. My eye is drawn to the strawberry pot, which is not at all relevant to this story.

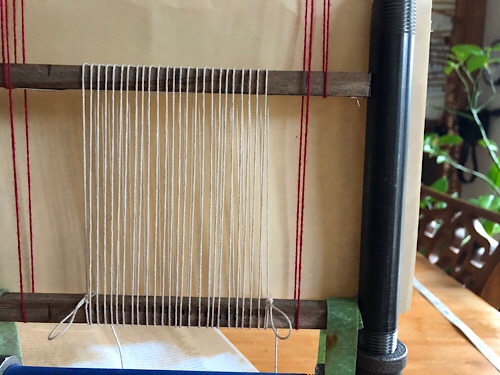
The photo below shows the jig in place to create the warp to be woven. This warp is white 12/6 cotton seine twine. The jig is two sticks held in place by strings (red) and some garden velcro strips at the bottom. This part gets removed after the supplementary warps are put in place to hold the white warp.

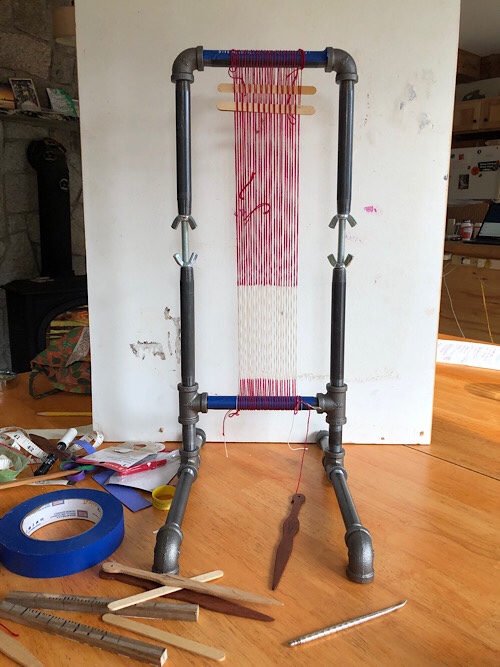
Supplementary warps in place, and ready to weave! I found the process of adding the supplementary warps pretty satisfying. There’s something calming about getting the tension just right and keeping everything spaced evenly and secured. I could use some more practice on knots. And better shed sticks (currently using popsicle sticks from a huge box we bought to use as seed markers).
Sam called this setup “your thread menagerie,” which is a funny way to look at it.

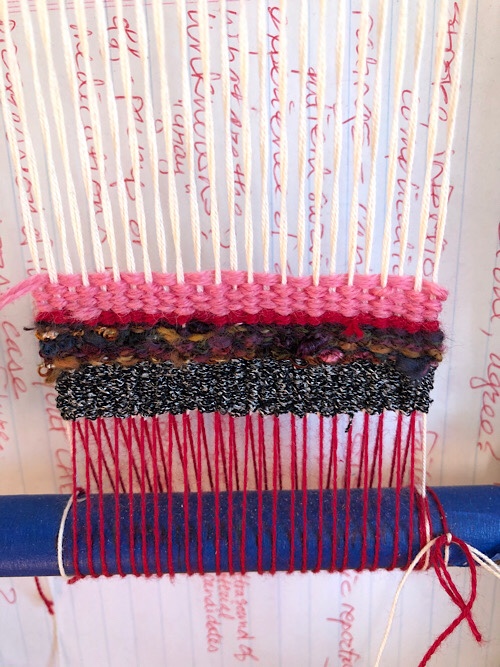
Beginning weaving below. It is hard to photograph without something behind it. In this case, the background is my scribbles on a sheet of paper, which adds an interesting touch. The weaving is just going to be stripes, not trying any shapes or figures on this first one.
