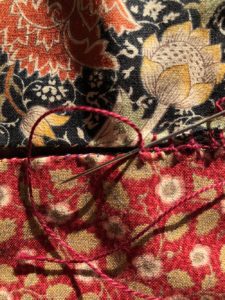
Joining stitch sampler
They have a lot of names including joining stitches, randa embroidery, fagoting, insertion stitches, bridging stitches. I’m in the process of making a fabric concertina, “Adrastea,” and realized I needed to try out some joining stitches and threads, and to practice before stitching my book pages together.
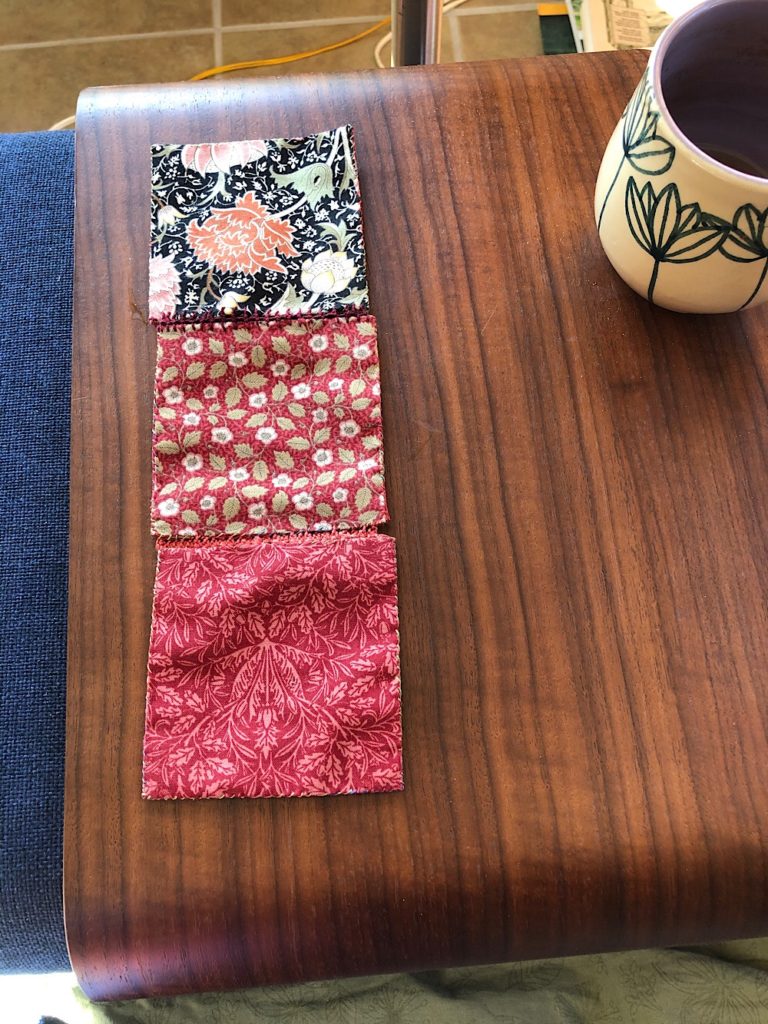
I’ve been holding onto a gift bag of cotton squares with William Morris prints. Not really my style but perfect for this joining sampler. I ironed them into 3.5 inch squares using a template. Then stitched two together to make a double sided square ready for joining. There were 42 in the bag so I have enough for 21 double sided squares to join.
I’ve been exploring stitches online and on YouTube. I posted about Sushma’s YouTube channel before. She just added another randa video, which was the first join I tried on my sampler.

The second stitch came from a YouTube playlist called Bridging stitch by mohd shafeeq. The video I watched is by Anamil Hawae:
بغتي تخدمي جلابة أو Ù‚Ùطان بملاقية سهلة وخÙÙŠÙØ© /خدمي هذ ملاقية
I couldn’t follow her stitches very well, but I made it work as best I could. I like its airiness compared to the density of the earlier trials.
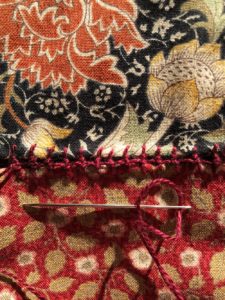
I don’t want to go to all the effort of making the sampler, and then forget what stitches and threads were used! So I’m going to keep track here. First one was on Xenotopias, so outside sampler.
-
-
-
- Green variegated Valdani, Sushma’s Craft and Creations
316-Decorative joining of two edges with needle(Randa embroidery)
-
-
- Pink cotton floss, Sushma’s Craft and Creations, 355-Joining if two edges with needle,Randa embroidery (Hindi/ Urdu)
- Maroon Valdani 8 Perle cotton, Anamil Hawae
Two views of the joins so far, one a bit blurry because I liked the look! The second looks terribly uneven, thus the need for practice.
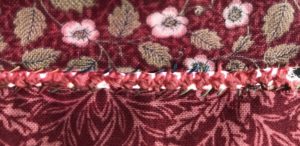
Sampler so far. I’ve made an error and stitched the top of the joining stitches on different sides. This works for a concertina, but not that well for a flat display. Well, it might be a concertina sampler.
And a short review of the four stitches used to make the latest join. The needle is always inserted within a loop of thread, but the directionality changes.
Step 1: needle comes up from below into Side A.
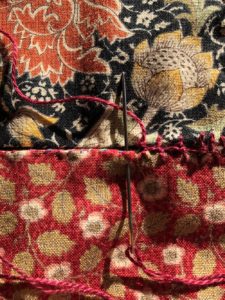
Step 2: needle comes down from above into Side B.
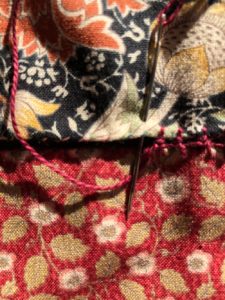
Step 3: needle comes from right through the top of the thread bridge. Loop is on top.
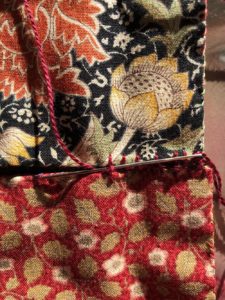
Step 4: needle comes from right again, this time through the bottom of the thread bridge. Loop is on the bottom.
