Randa stitch
This is a mini tutorial for the randa embroidery stitch I used for the concertina joins. The joins look great on both sides! I used a variegated Valdani pearl cotton thread.
I learned this stitch from a YouTube video, not in English:
316-Decorative joining of two edges with needle(Randa embroidery) By Sushma’s Craft and Creations
The steps:
The first three steps are to get started. I didn’t take pictures; maybe I’ll update this post later because it’s much easier to show than explain.
Side A is on my right, and Side B is on my left. I keep the gap quite small when taking the first three stitches. After the pattern is established, it’s easy to maintain the same amount of space.
1) first anchor the thread on Side A. Come in from back with a knotted thread. Take another stitch from front a few millimeters away, same side. Bring thread up through the center of the loop created.
2) take the first stitch on Side B coming in from the backside and wrapping thread over the needle before pulling through. This leaves a little knot and a teeny single thread bridge in the gap area between the sides.
3) take the needle under the thread bridge (right side, near Side A). Wrap thread over needle before pulling through.
From here, the pattern is established and next four steps are repeated as long as necessary.
4) take a stitch on Side A and wrap the thread over the needle before pulling through.
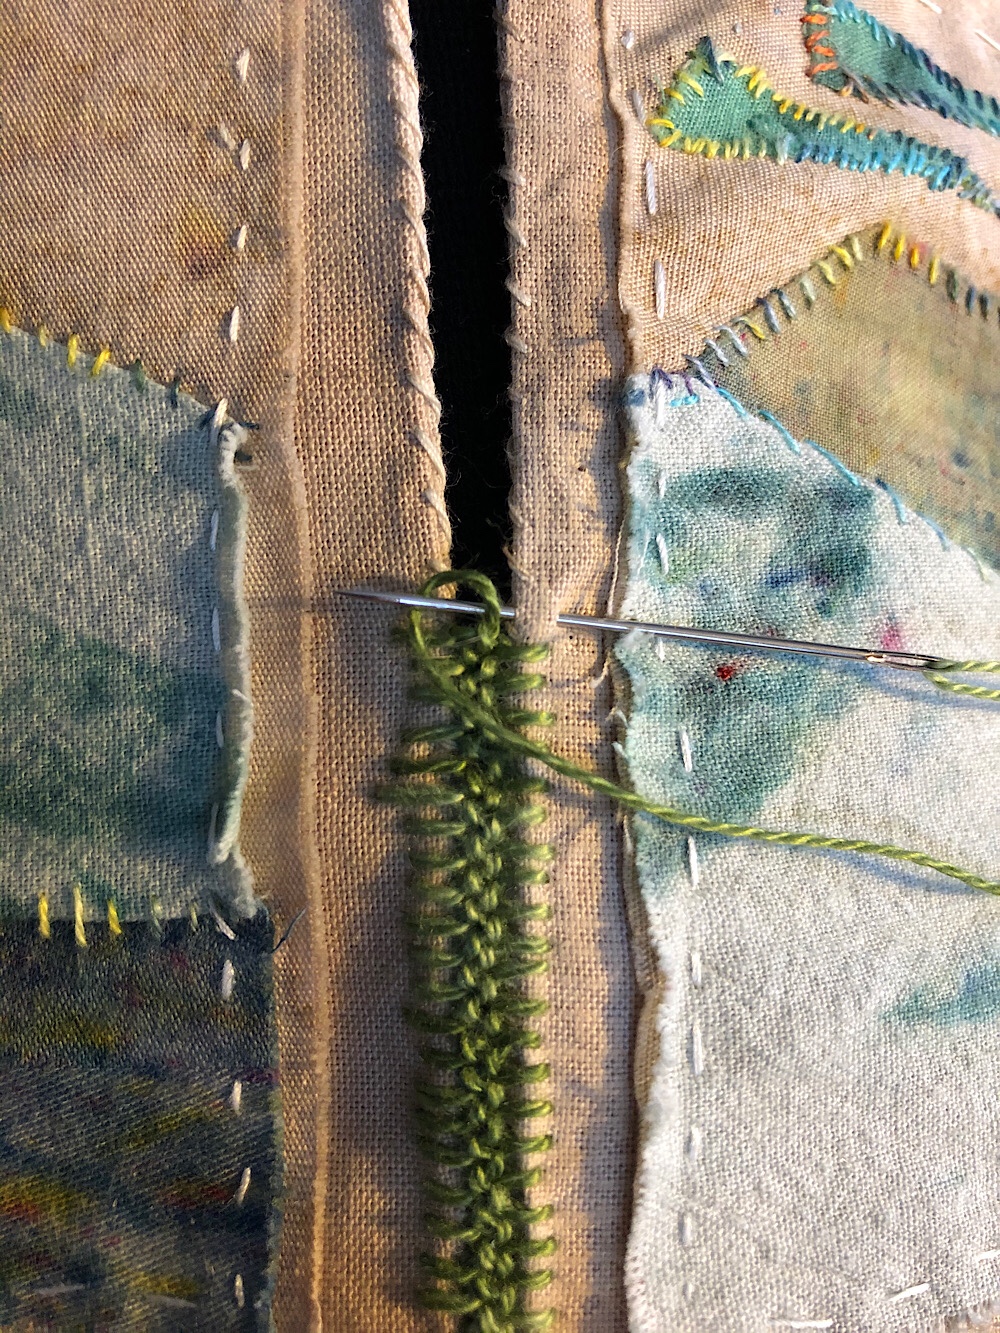
5) insert the needle through the left hand loop in the gap, near Side B. Sometimes the loop sinks down and is hard to see, but I usually found it clearly visible. Wrap thread over needle before pulling through.
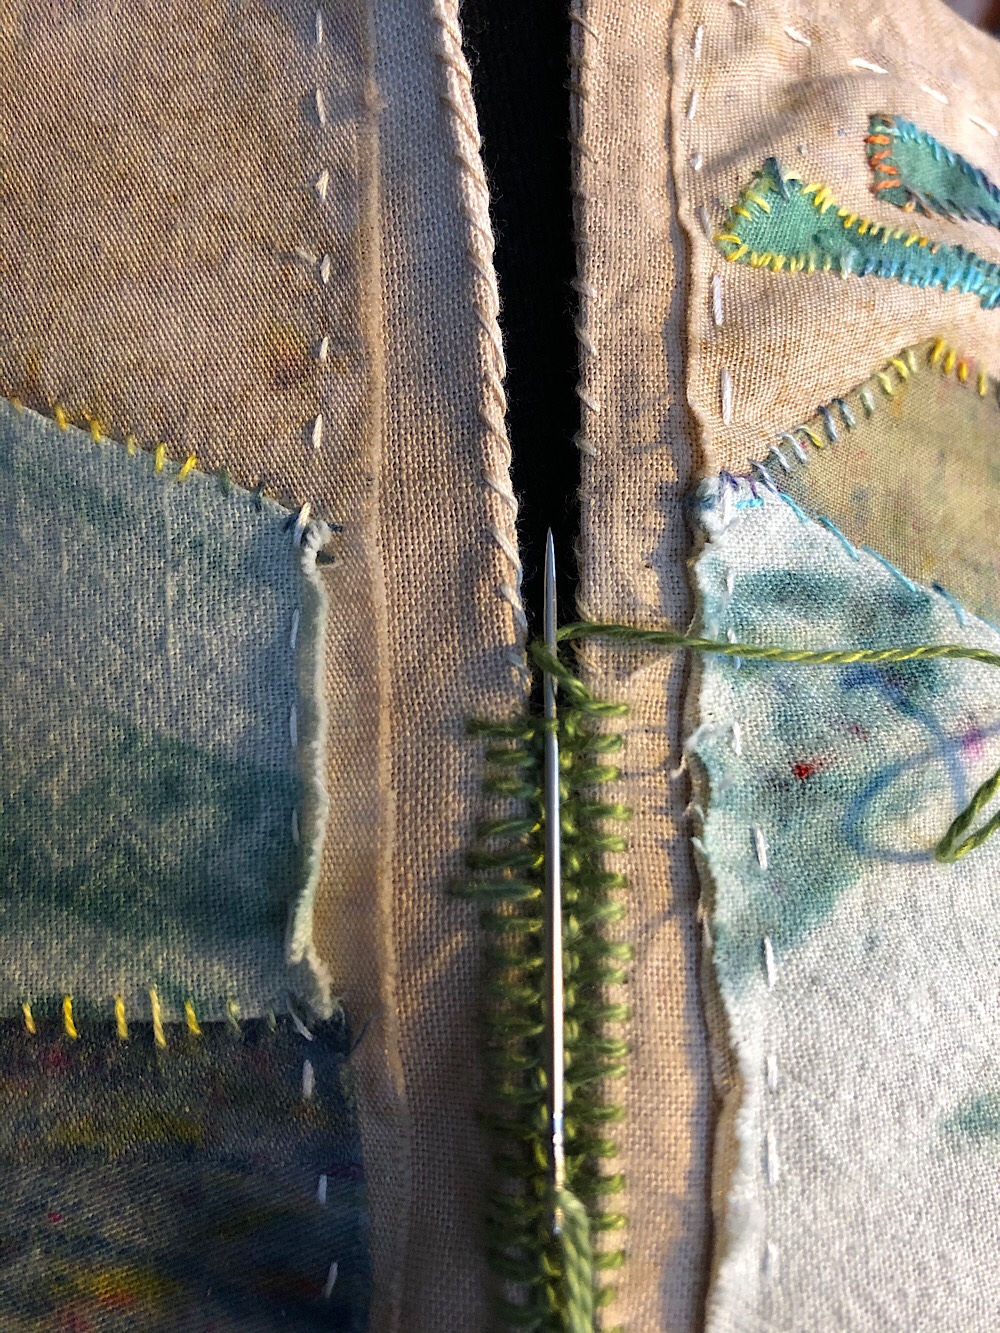
6) I found it helpful to turn the piece a quarter turn to the right before taking this stitch, probably because I’m right handed. Take a stitch on Side B and wrap thread over needle before pulling through.
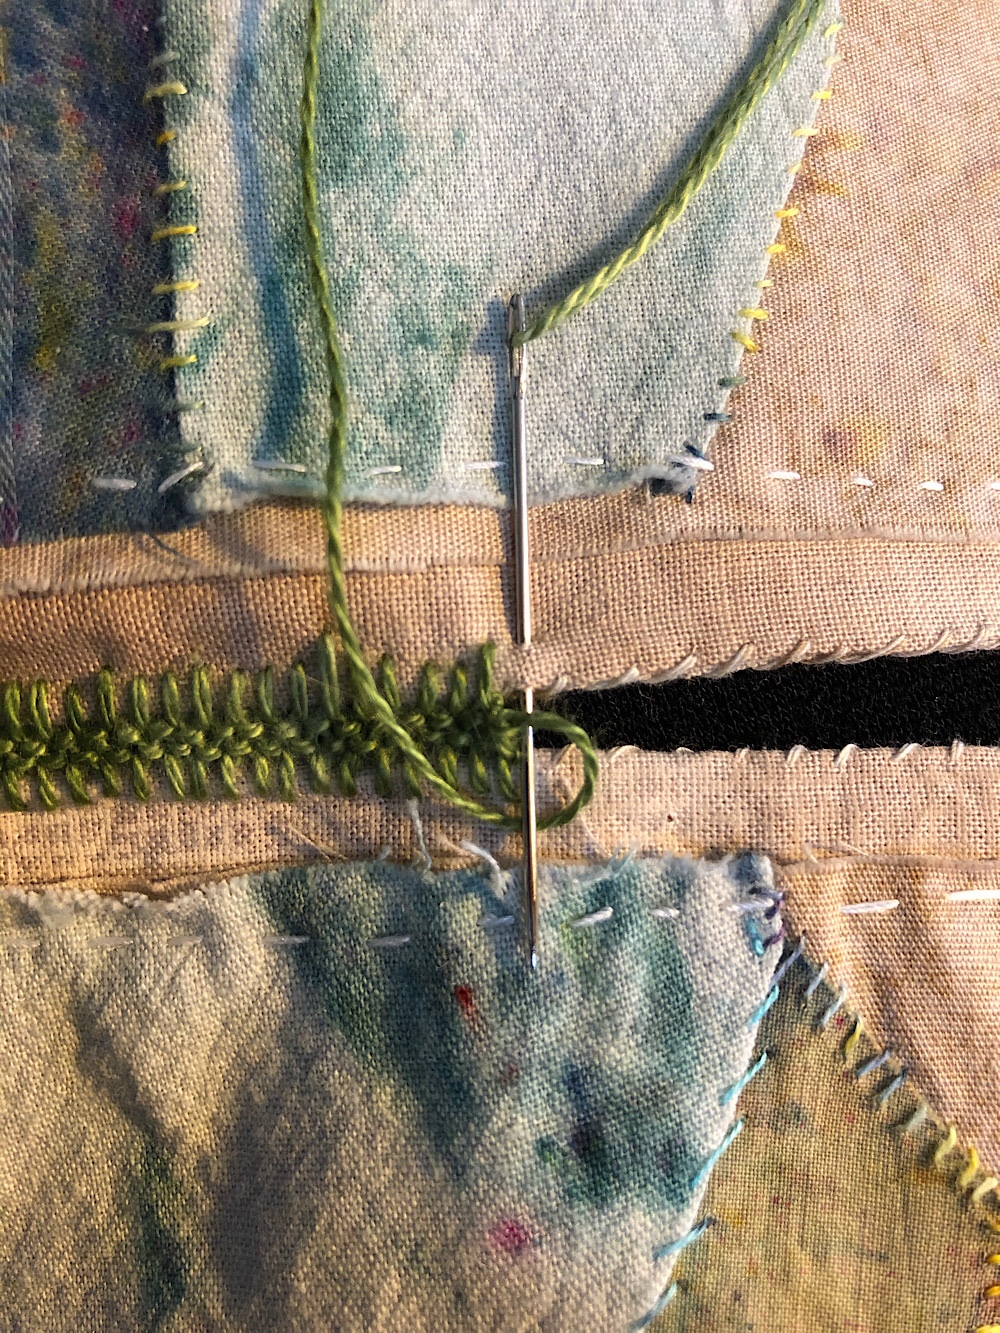
7) last of the four stitch pattern. Rotate the work back a quarter turn to the leftb. Insert needle through the right hand loop in the gap, near Side A. The loop may be a little harder to see than in Step 5. Wrap thread over needle before pulling through.
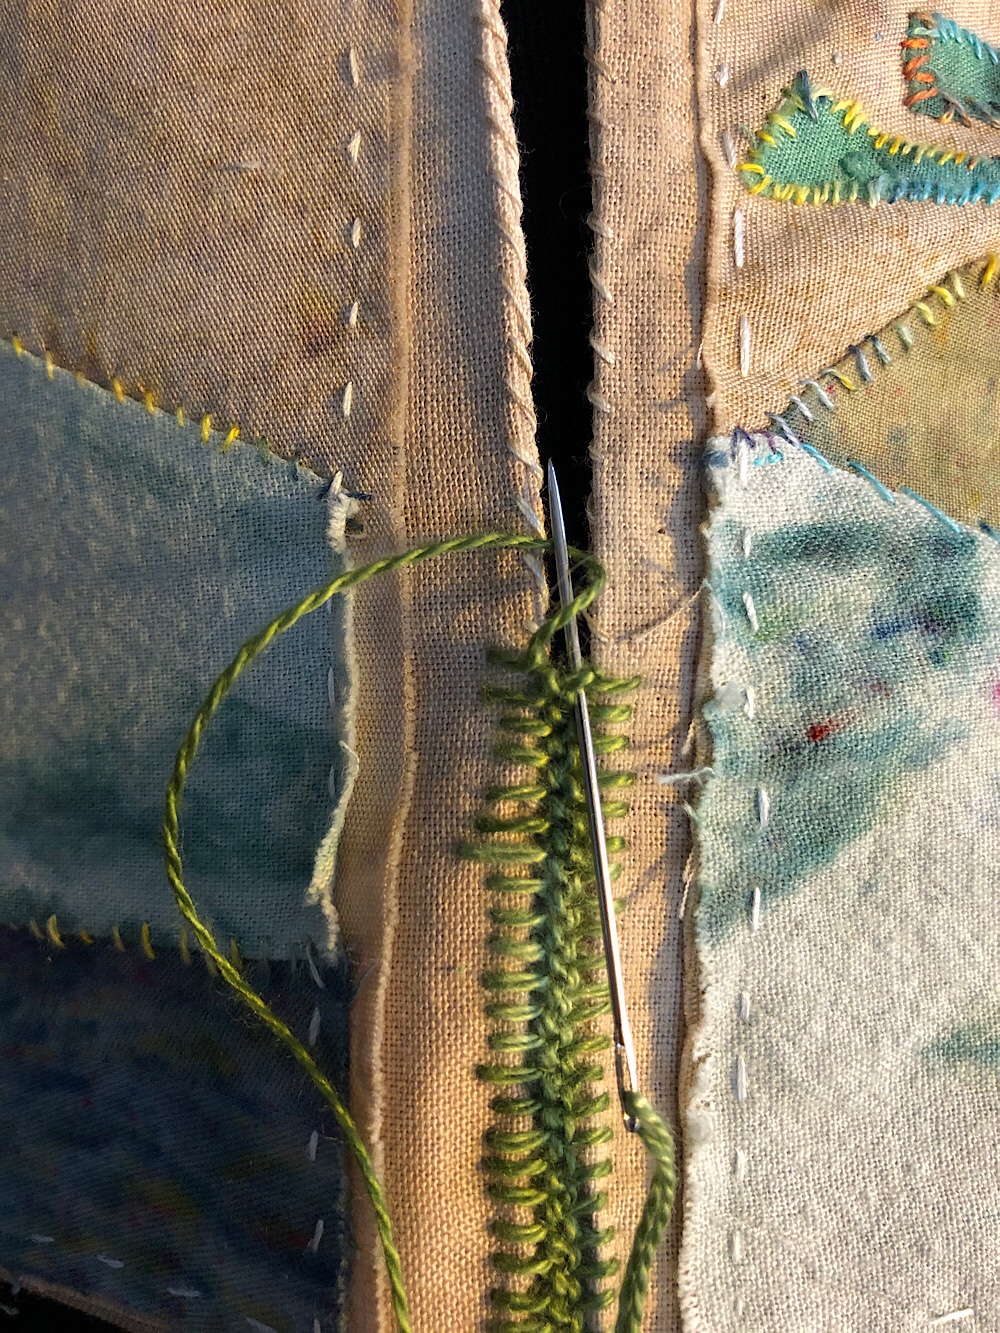
The four-way rhythm of the stitching becomes hypnotic and the work moves quickly up the seam. Just remember to always wrap the thread over the top of the needle before pulling through.
The finished book:
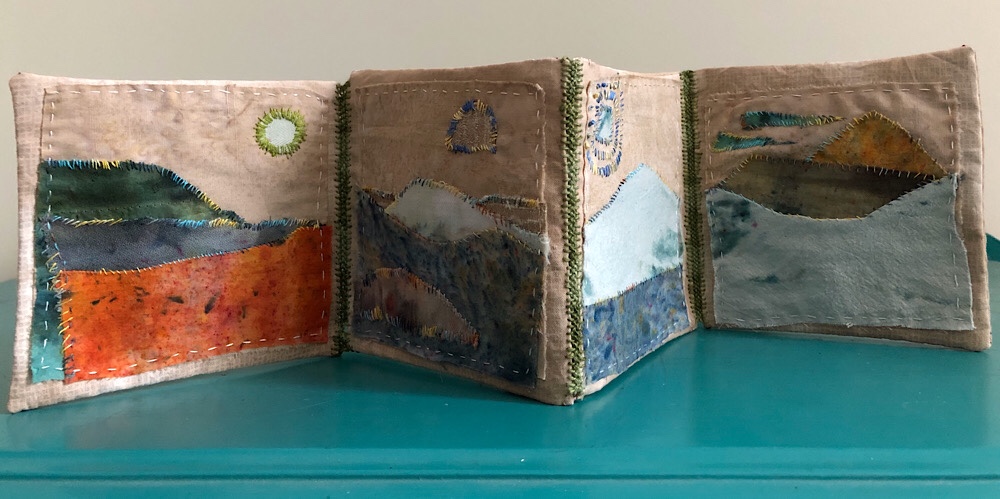
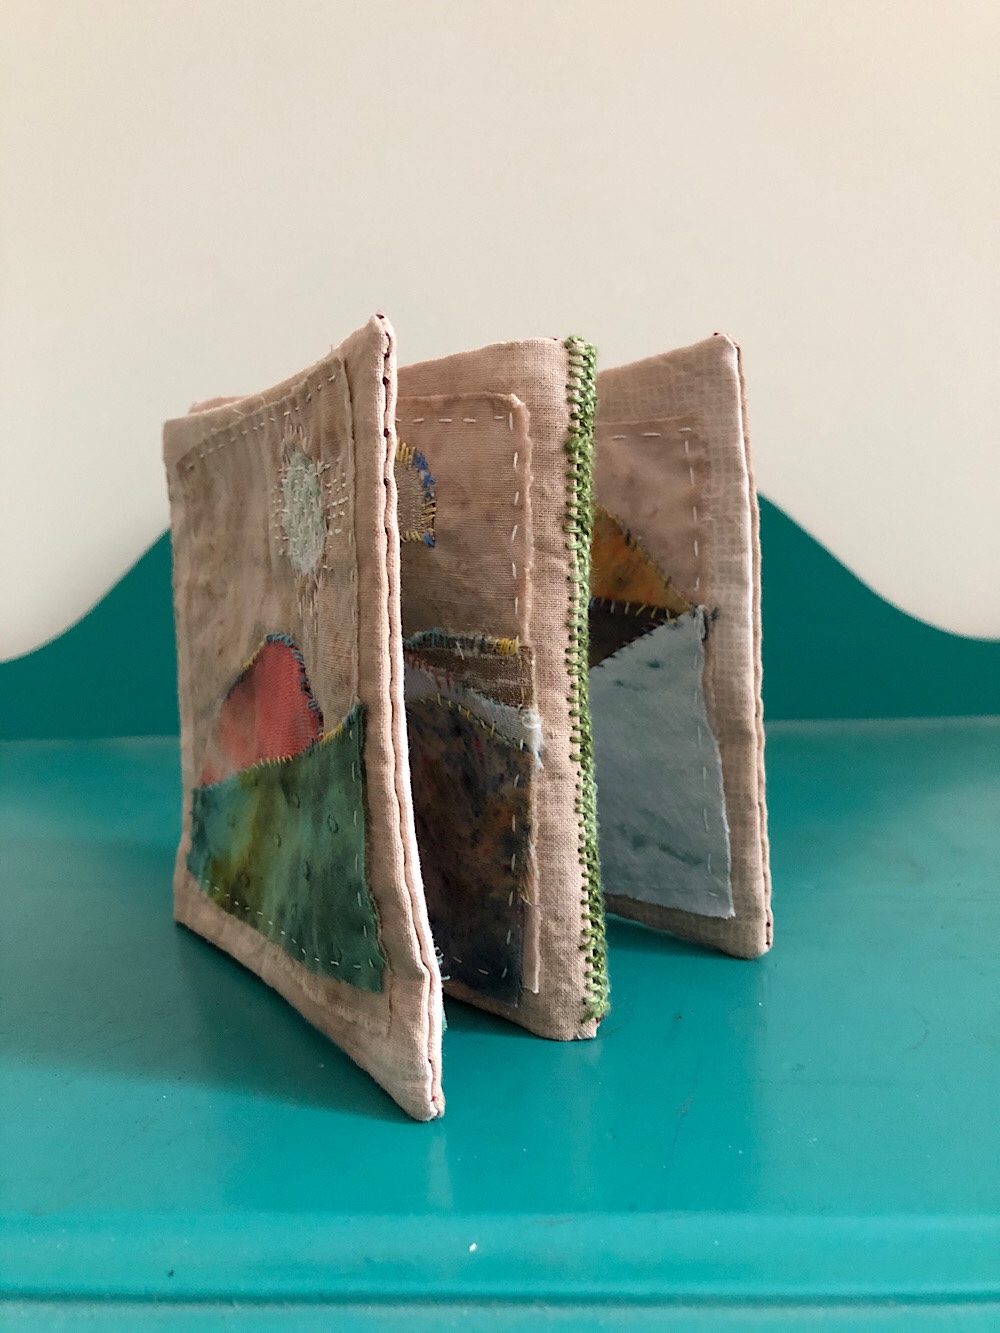
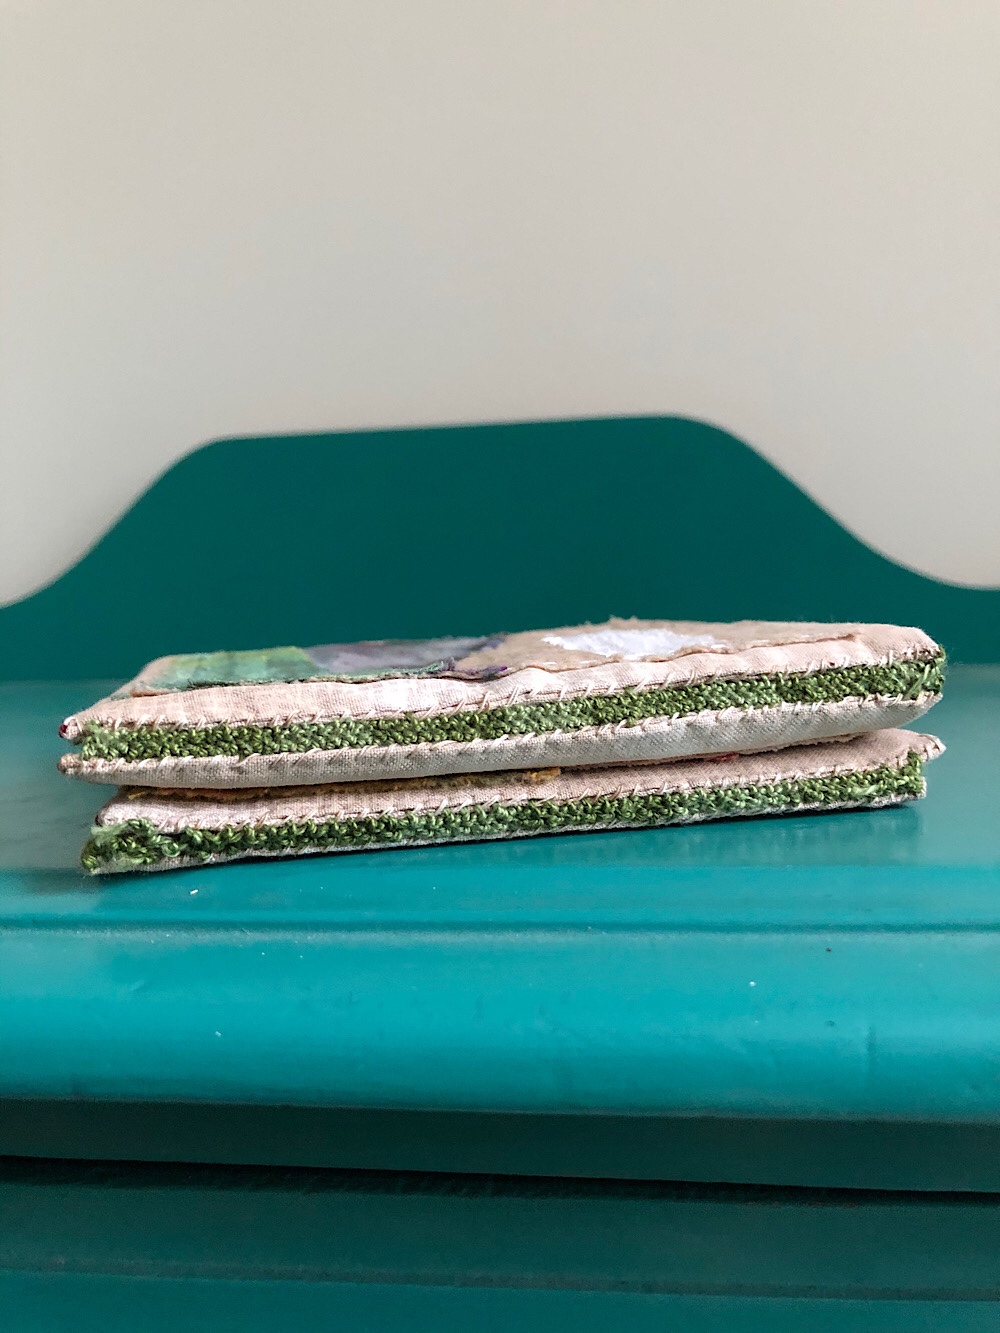
Other joining stitches: http://dig.henryart.org/embroidery-stitches/class&usage_nav_pages/join_stitches.htm
This is so wonderful, thank you for the idea