Shibusa felting
I’m starting a new activity under the guidance of India Flint in the course being (t)here 2019: shibusa felting.
The first step was to locate some roving. I was going to go to the yarn shop in Bangor, but before I could get there I found a sweet ball of it for sale at the Ellsworth Farmer’s Market by vendors Mountain Foot Farm.
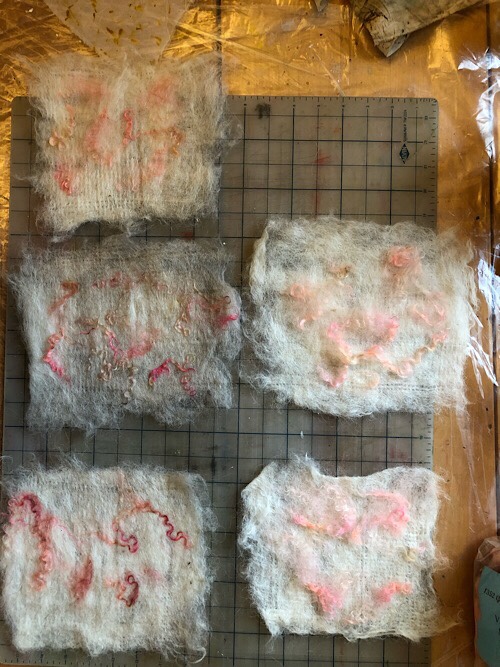
Then I made the pre-felts (shown below).

Steps:
- Lay out scraps of roving vertically, then horizontally, on a sushi mat
- Garnish with a few bits of dyed mohair (optional – I have a bag of this and I’ve been looking for a way to use it!)
- Roll around a length of pipe and secure with rubber bands
- Soak in hot water
- Roll back and forth on the marble countertop for a few minutes
- Open and disentangle wool from pipe and mat. Lay it at a 90 degree angle and reassemble.
- Roll a few more minutes.
- Open and squeeze extra water out of prefelt. Do not wring!
- Allow to dry.
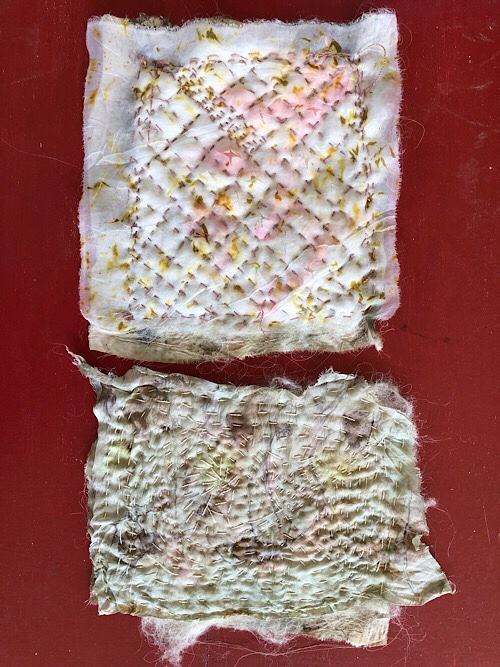
Then I chose fabric and threads to stitch as the front and back cover for the prefelts. So far I’m using:
- Nicola’s gift of light green eco-dyed silk from South Africa
- Pieces of eco-dyed silk scarf I made in Susan Smith’s workshop
- Pieces of habotai silk dyed with bits of marigold and calendula from A Verb for Keeping Warm.
- Threads from Beautiful Silks dyed by me. Red cabbage, maybe?
So far I’ve stitched two. The silk-wool sandwich is lovely to stitch into, although I have to resist feeling that I’m making a potholder or a baby diaper.

Will keep working and await the further installment of instructions from India Flint next new moon.
1 Response
[…] late summer activities took precedence. Now it’s October 1st and time for an update on the shibusa felting […]