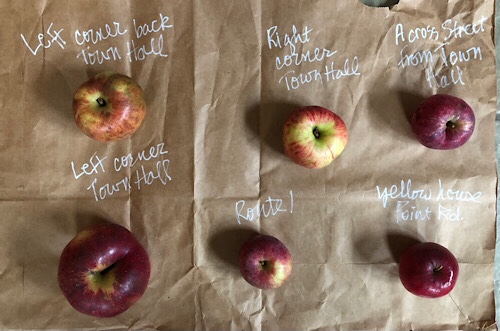
Sam has been bringing apples home for awhile, but recently we got serious about the fall apple harvest. He picks from local trees that seem otherwise ignored. We don’t like to see the apples going to waste. Here are the six types he brought home recently.
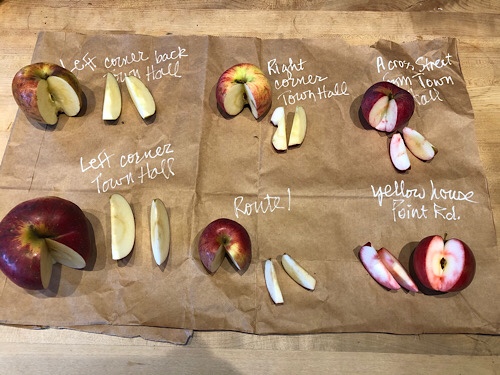
Foraged apples with location notedTasting slices – note the reddish interiors of the ones on the right
I made an apple crisp with these after cutting into them for a taste test comparison. The apples with the reddish flesh (right) are my favorite. Tart and crispy. But they’re all good. The variety on the lower left is HUGE, the size of my fist or bigger. Not a superstar for flavor, but nice white juicy flesh. They were all juicy, probably because they were fresh picked. I wonder how they will store.
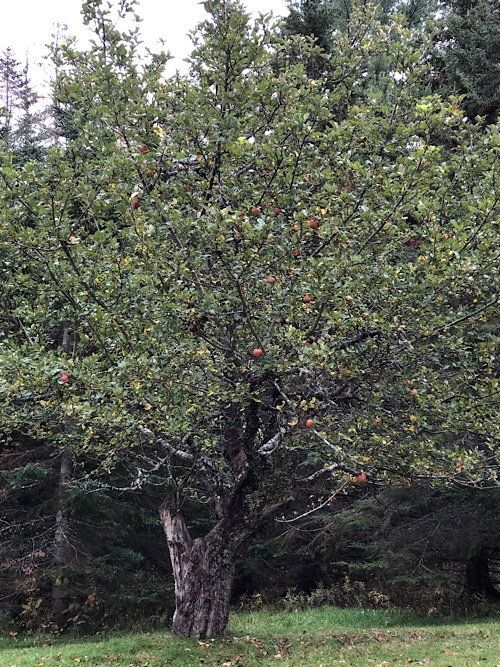
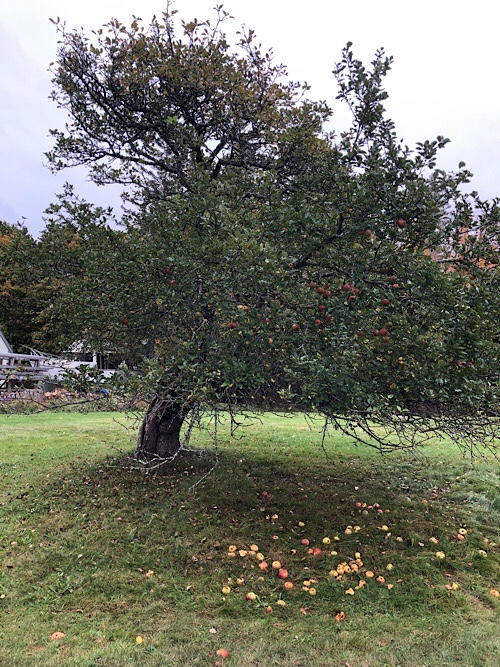
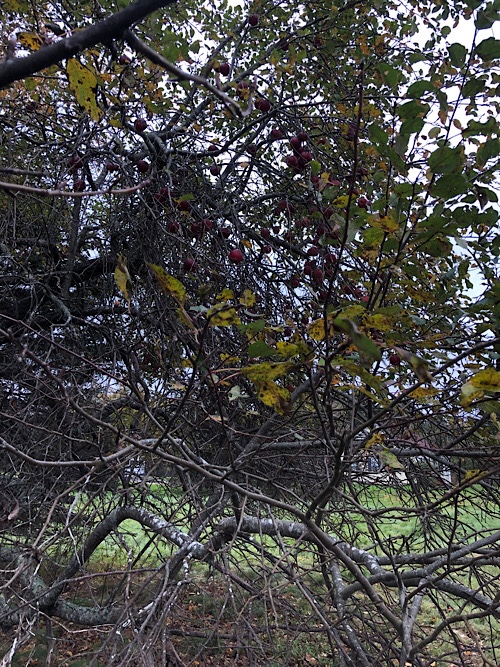
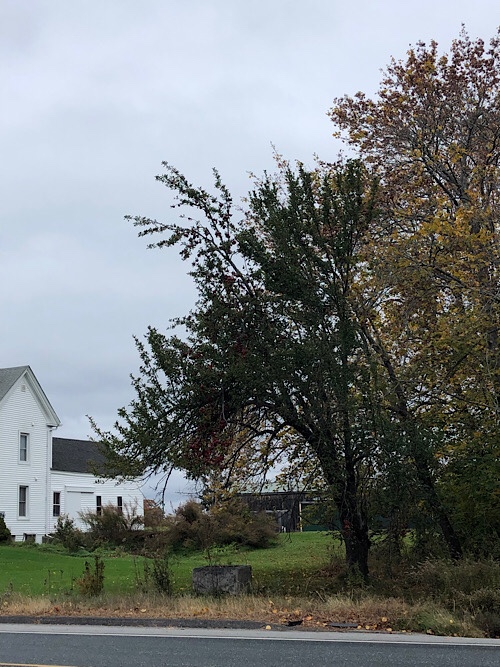
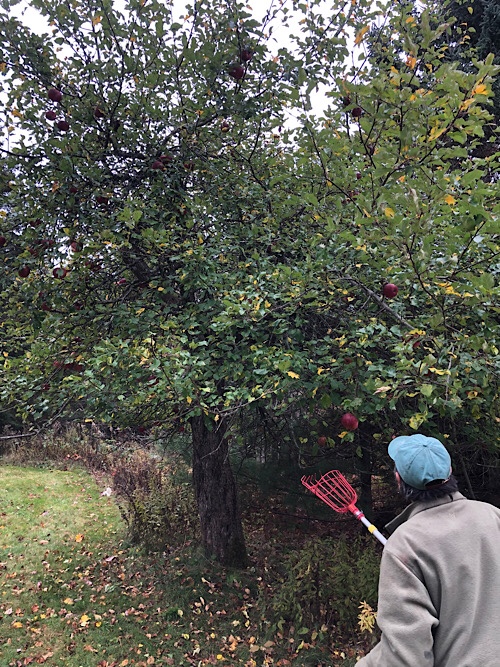
Today we went back so I could photograph the trees they came from, and also picked some more. The photos are in the order of the apples laid out above, going clockwise from top left:
Behind town hall, back leftBehind town hall, rightAcross Point Road from the town hall – these are almost all gone nowOn the roadside past the small yellow house on the east side of Point Road – very delicious applesAcross Route 1Across Route 1 detail – hanging in thick clusters like grapesBehind town hall, left (the huge red ones)
My to-do list is really long and I’m not making very fast progress. There is so much to do in the fall. It’s better to slow down some and enjoy these small steps in a positive direction.
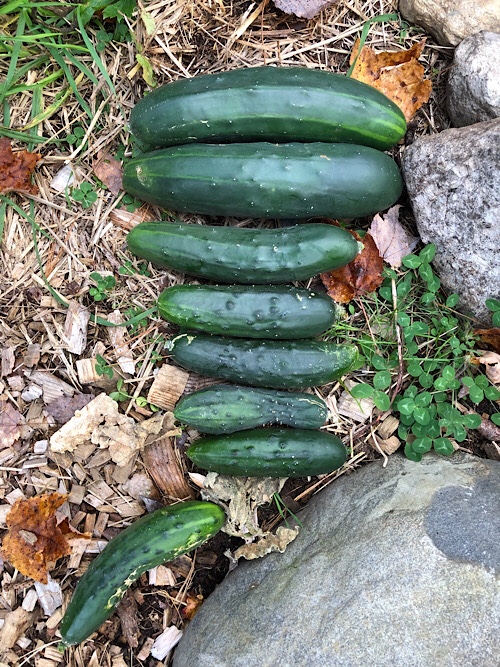
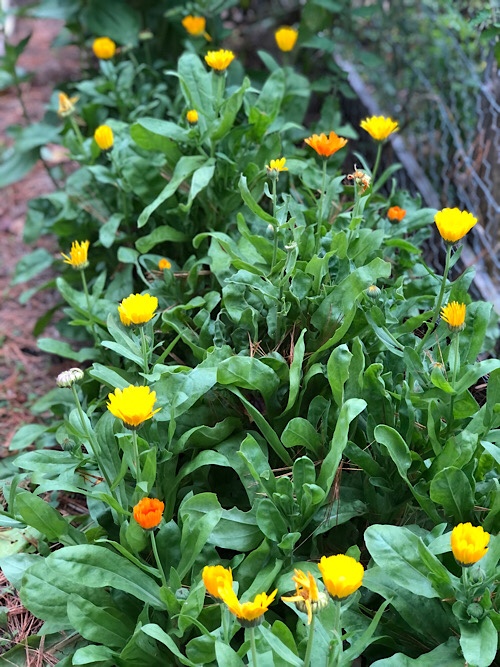
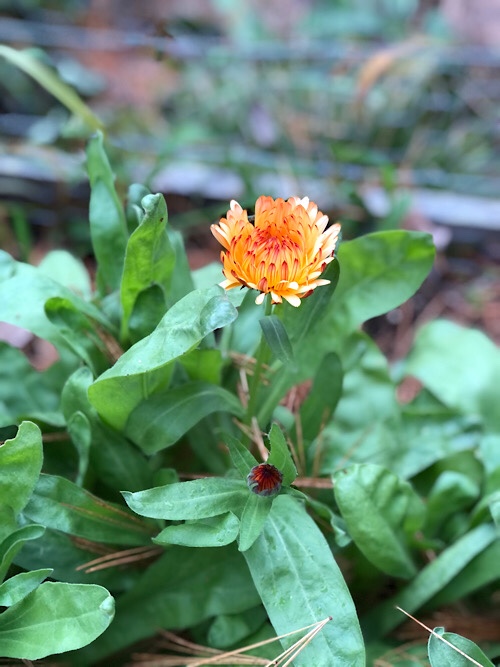
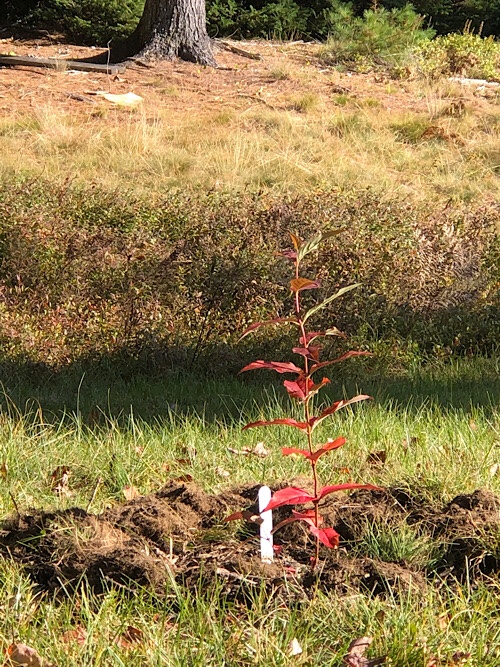
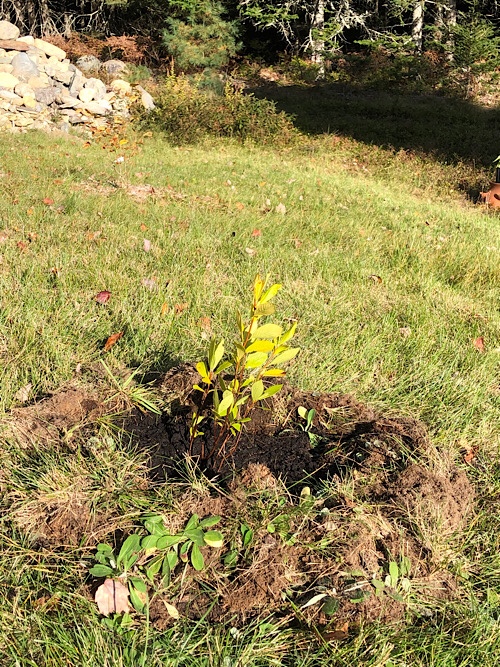
Planted the last of the Wild Seed shrubs today at camp – a bush honeysuckle. Harvested the last of the bumper cucumber crop. So many cukes. I pulled out the vines as well, which were mostly dried out. Resina calendula, planted July 28. Many flowers. Zeolight calendula, planted July 28. Just one bloom on these.
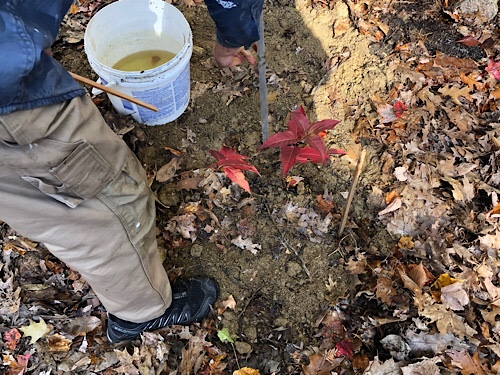
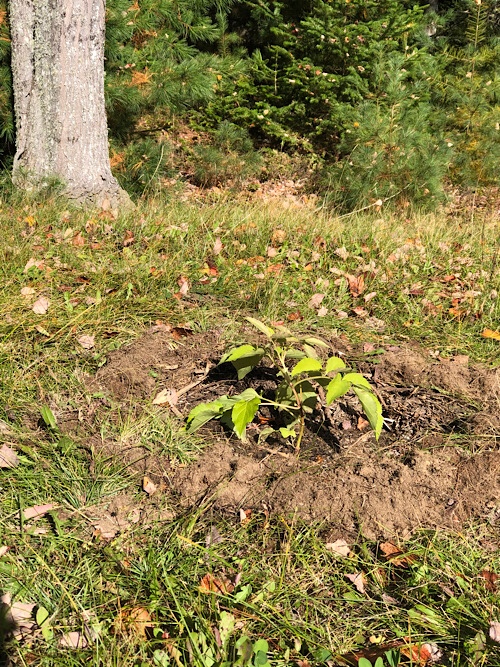
The shrubbery is planted. I’m addition to the witch hazel from Fedco Trees, we planted three more seedlings today. After being undecided for a long time about the elderberry, I finally opted to put it in the lawn with the others.
Black elderberry, Sambucus nigra ssp. canadensis (from Wild Seed Project)Bush honeysuckle, Diervilla lonicera (from Wild Seed Project)‘Ruby Spice’ Summersweet, Clethra ainifolia, also known as Sweet Pepperbush, from Fedco Trees
I planted this rudbeckia in the back flower bed. It’s a problematic area that I’m trying to fill with beautiful care-free perennials that don’t try to take over the garden.
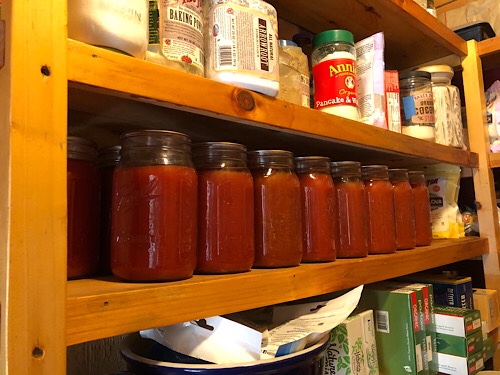
Well, canning is done. Our tomato harvest was inadequate, so we bought twenty pounds of seconds from Happy Town Farm. This worked great to supplement our supply.
Every year, we seem to reinvent the wheel by rediscovering guidelines that make the process more effective. The less guesswork, the faster and easier it gets. By the end of the season, we are pretty good at it. Then we forget until next year, when we start the learning curve all over again.
So here’s an attempt to record a few of the learnings from this year’s canning.
For our process, the rule of thumb is 9 pounds of tomatoes are needed to make a batch of three quart jars of sauce. In other words, 3 pounds per quart. This is before trimming off ends and bad spots.
We clean and heat the jars, then add a 1/2 teaspoon of citric acid, to ensure good acidity levels in the sauce.
Add 1/2 teaspoon of citric acid to jar first
We wash, trim, and rough-chop the tomatoes, then pile them into large saucepan. We usually don’t add any flavorings, assuming we will flavor as needed when using the sauce. This also reduces the marking and notating necessary on the jars. This year we didn’t do any marking on the jars – a time savings, but we’ll have to use up all of them this season. If we don’t, I’ll put the year on them before we make more.
When the sauce has cooked down into a more liquidy state, we use the food mill to remove skin and seeds. Then replace the sauce in the saucepan and cook down a bit more. Usually it is close to ready after milling and just needs some reheating.
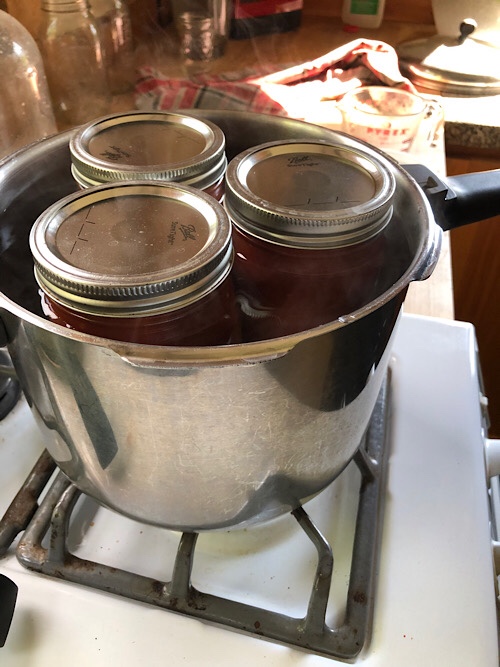
To fill three jars, the batch of sauce should come just below the rivets on the large saucepan. If there’s extra sauce, we save it in the fridge and use it within a few days. The pressure cooker holds three jars of sauce. Start out with 13 cups of hot water in the pressure cooker. This amount will avoid overflow as the jars are added. (We do not bring water level over the top of the jars.)We ladle the hot sauce into the warm jars using a funnel.Leaving some headspace. Wiping off the edge of the jar to facilitate a good seal.
The lids and rings should be clean and warm. Use new lids every year.
Note: they can be hard to find when canning season is in full swing, so stock up if you find them.
Note: we tried Pur brand lids from China this year because they were all we could find for awhile. They did not seal well. Avoid!
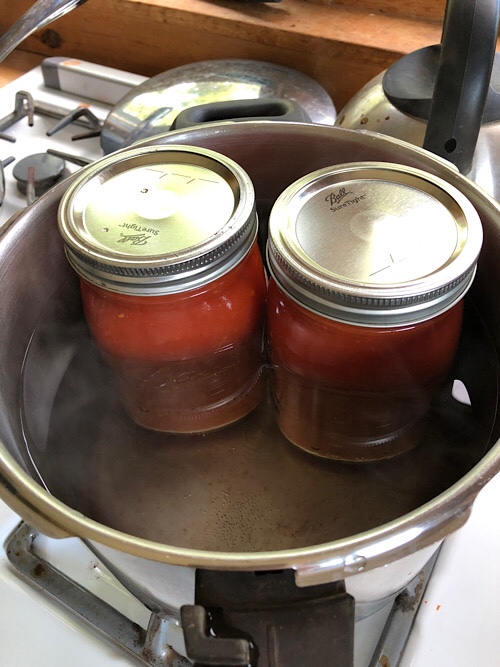
Finger tighten. Three jars set to go in the pressure cooker.
Pressure cook for twenty minutes after pressure is reached. Let pressure release naturally. Then take out jars and tighten rings to aid sealing. Let jars cool on counter. The dimple on the lids should make a popping sound and depress when vacuum occurs.
I think we totaled 19 or 20 quarts this year. Not sure because we used some before canning season’s end.
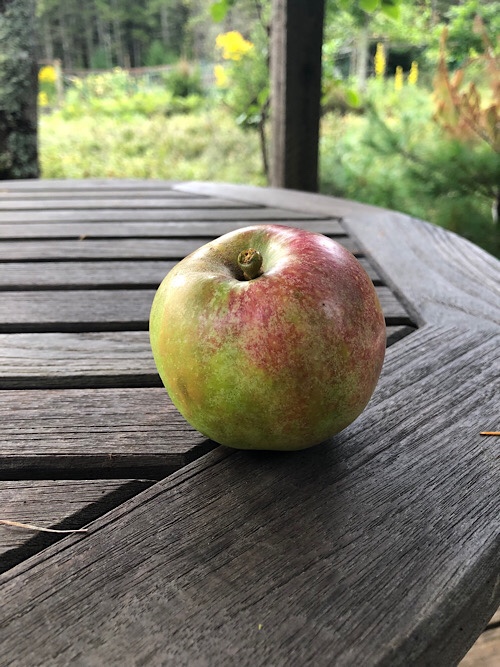
From our baby tree orchard, a pretty nice sized apple. It’s a little tough and not very sweet, but it doesn’t have bugs or other issues. Happy with it!
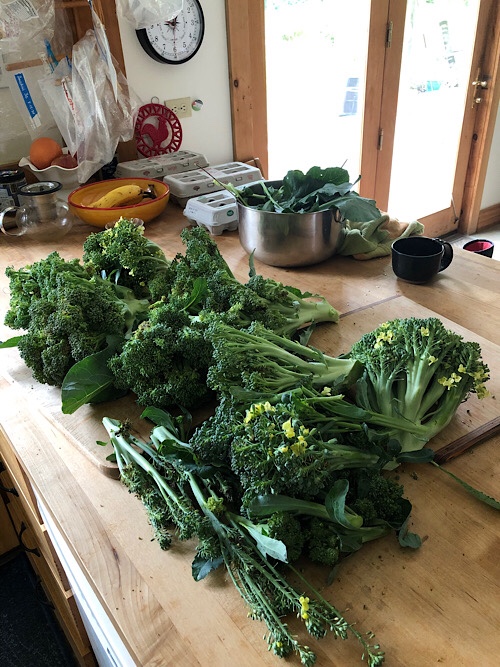
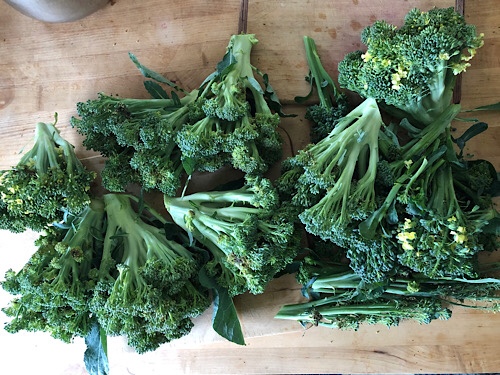
This project took all afternoon. There was an overabundance of broccoli in the garden. It was impossible to keep up with unless we wanted to eat broccoli every day, twice a day. Some of it was flowering, some of it was way past its prime. I decided to harvest all I could find and go through it, removing the bad and preserving the good.
Result: five pounds of broccoli, chopped, blanched and frozen. Probably equally that amount tossed onto the compost. I’m glad that’s done.
Just appreciating my sourdough starter this morning. It is so reliable. I feed it only the night before I’m ready to bake. I add 100 grams of rye flour and 100 grams of water, sometimes a little more.